I still remember the thrill and the absolute, bone-deep exhaustion of finally beating Act 3 in Modern Warfare 3's Zombies mode. It's 2026 now, and while the meta has shifted, the memories of that grind are still fresh. Those cosmetics? They weren't just pixels; they were badges of honor, trophies earned in the chaos of Urzikstan. The final prize, 'The Bone Collector' operator skin, was the ultimate goal, a ghostly, skeletal look that screamed you'd been through hell and back. But to get it, you had to conquer a gauntlet of missions that, frankly, felt like the game was personally trying to end you. Let me walk you through my experience, the good, the bad, and the utterly chaotic.
Act 3 Tier 1: The Warm-Up That Wasn't
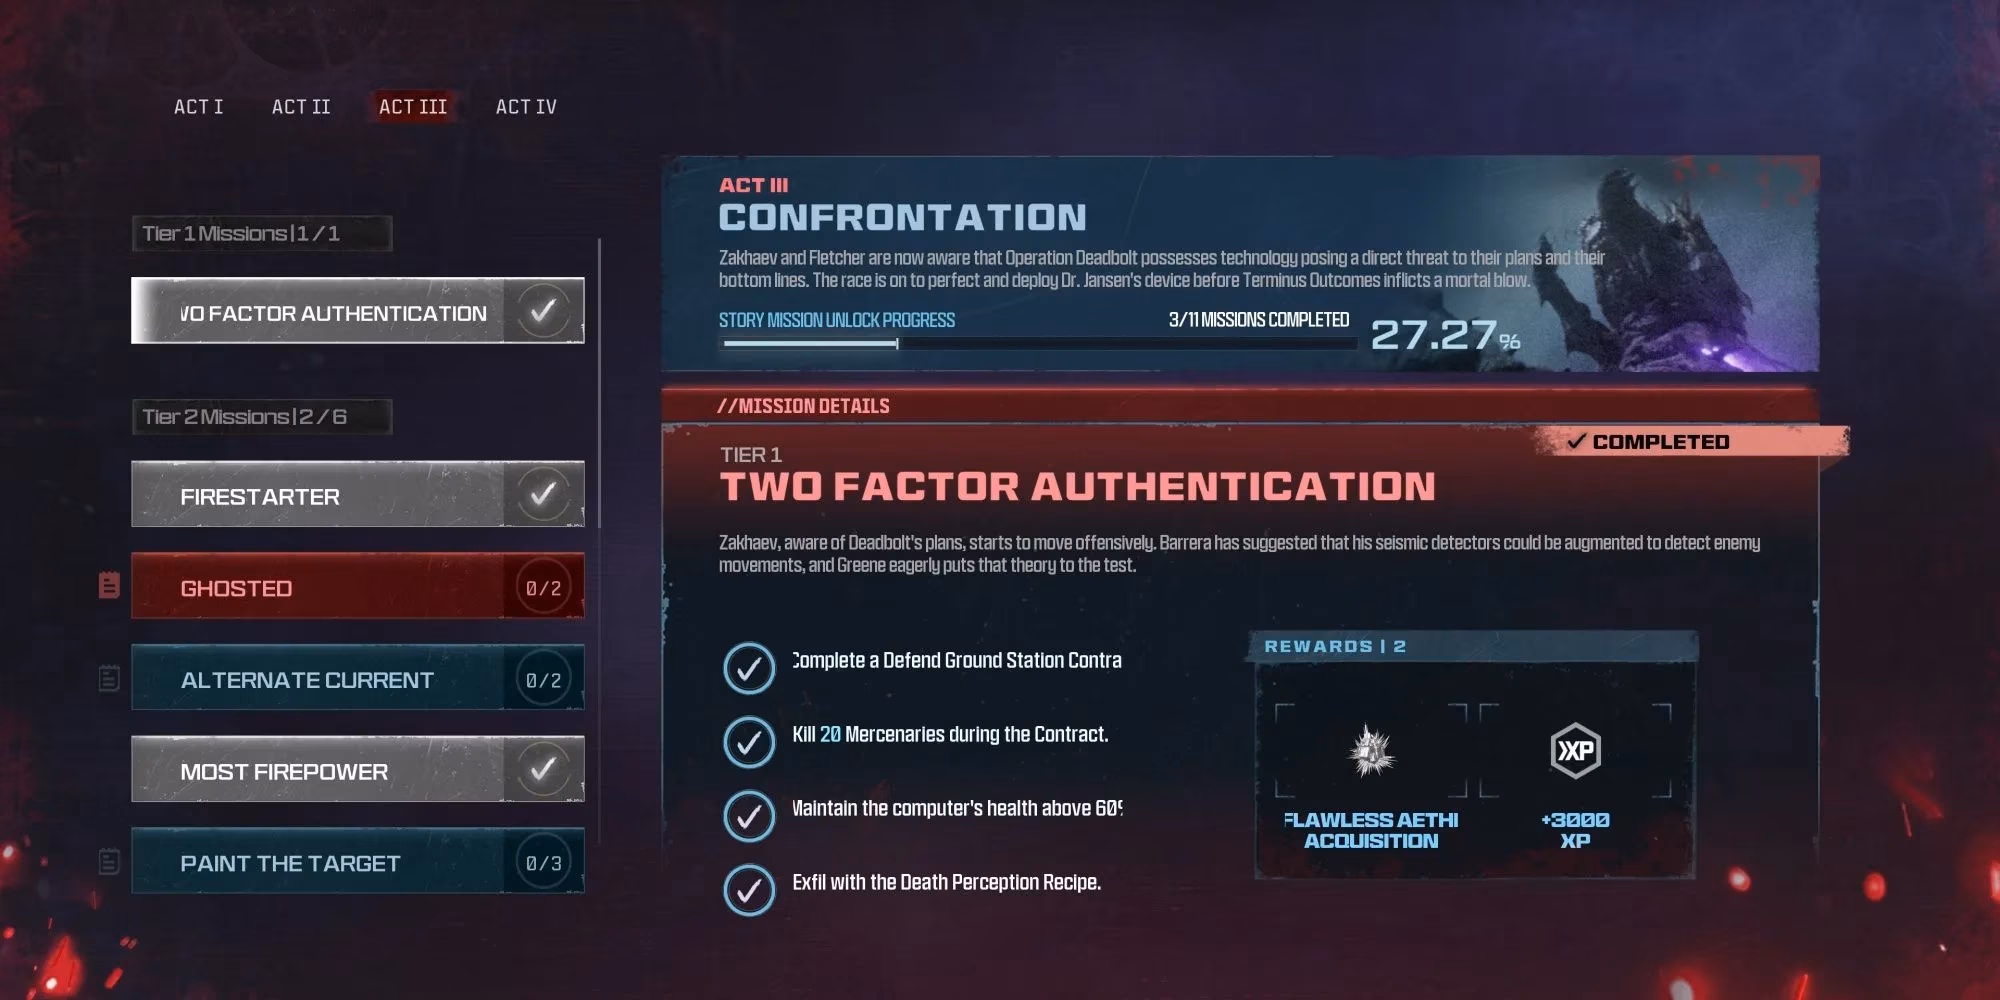
The first mission, 'Two Factor Authentication', was a classic 'welcome to the party' moment. It sounds simple: defend a computer, kill some mercs, keep the terminal healthy. But oh boy, those mercenaries don't mess around. My squad learned the hard way that trying this in anything but a Low Threat Zone was a recipe for a quick trip back to the lobby. We'd roll in with a plan, get our sentry gun set up, and then... bam, a dude with a riot shield would just march through our fire like it was a light drizzle. That's when we discovered the magic of Thermite. Watching those shields melt away? Chef's kiss. And don't even get me started on the panic of making sure you grabbed the Death Perception recipe from the cache before your over-eager teammate called the exfil chopper. It was a lesson in communication and controlled chaos.
Act 3 Tier 2: When the Grind Got Real
Tier 2 is where things started to get spicy. This was a mixed bag of very specific challenges that forced you to play in ways you normally wouldn't.
-
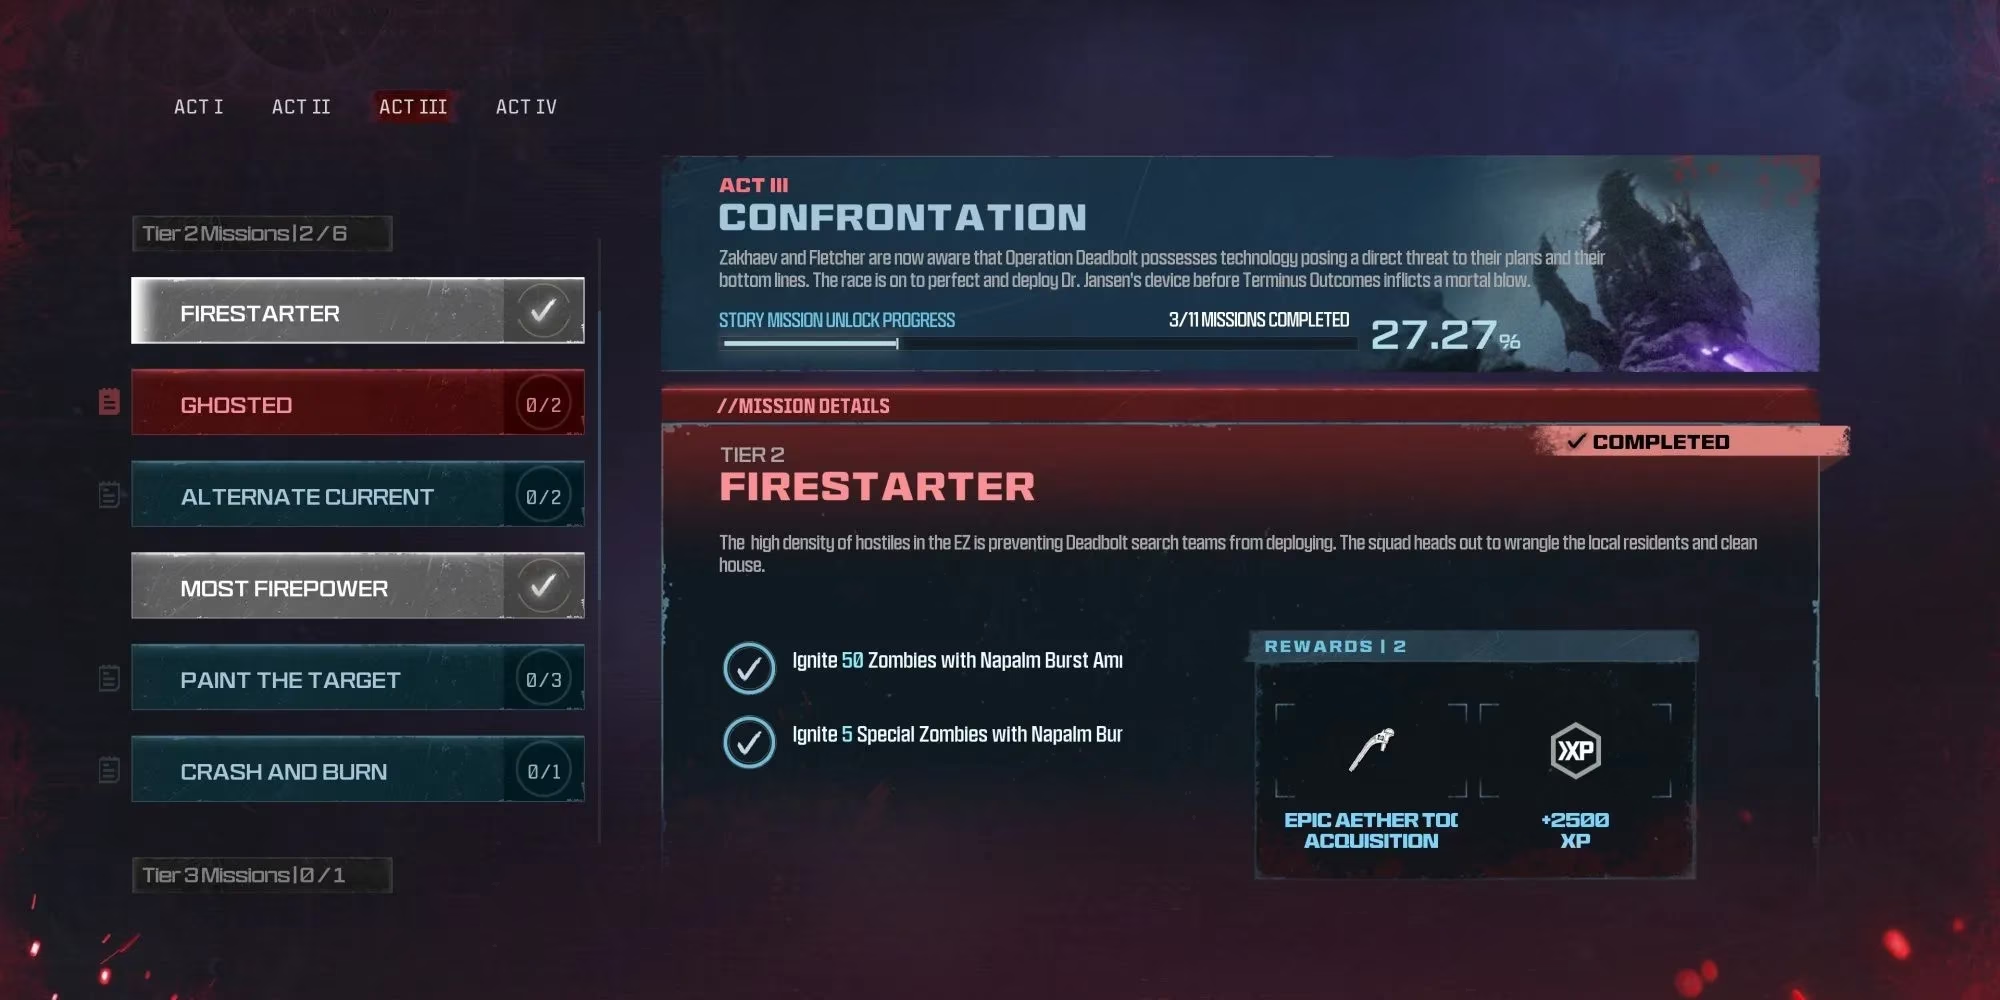
'Firestarter': Setting 50 regular zombies and 5 specials on fire with Napalm Burst was... oddly satisfying. The trick was finding the right contracts. Outlast and Escort missions were our best friends for the hordes. For the specials? We'd just hunt down those HVT Bounty Contracts and turn them into crispy critters.
-
'Ghosted': This one was all about timing. Killing 100 zombies and 20 mercs while Aether Shroud was active meant you had to be aggressive during its brief window. We found the Defend Ground Station contract perfect for farming merc kills. A Pack-A-Punched RGL-80 made the whole process feel like cheating, in the best possible way.
-
'Alternate Current': Tesla Storm is a wild Field Upgrade. Trying to zap 10 mercs and 50 zombies with it solo was a nightmare. But with a squad? Hoo boy. We'd group up, pop the upgrade, and watch the chain lightning dance between us and every enemy in a 50-meter radius. It was pure, unadulterated mayhem.
-
'Most Firepower': Ah, the classic 'get rich or die trying' mission. Pack-A-Punching a weapon to Tier 3 meant venturing into the red zone, the High Threat Zone, with 15,000 Essence burning a hole in your pocket. The tension of grinding for that cash, avoiding mega-abominations, and then finally getting that sweet, sweet PaP III weapon to melt a Mega Abomination... that was a core MWZ memory right there.
-
'Paint the Target' & 'Crash and Burn': These were our aerial assault phases. Calling in Precision Airstrikes on merc convoys and camps felt incredibly powerful. And the Cargo Delivery contracts? We knew an enemy chopper was coming every single time. It was like clockwork—deliver the cargo, then brace for the aerial showdown.
Act 3 Tier 3: Storming the Castle (Literally)
'Storm the Castle' was the first major story beat and it felt epic. It was a multi-stage quest that had us:
-
Clearing a mercenary camp for a Stronghold Keycard.
-
Storming a mercenary stronghold (marked on the map, thank goodness) to crack a safe for Legacy's Fortress Keycard.
-
Marching into the fortress in grid D2 for a showdown with a Warlord.
That fortress fight was no joke. The Warlord, surrounded by heavily armored guards, turned the central building into a bullet-hell nightmare. But when he finally went down and dropped Strauss's research, the squad's cheers were real. We were one step closer.
Act 3 Tier 4: The Final Gauntlet Before the End
This was the last hurdle before the big story mission, and it tested every skill we had.
-
'Closing Time': Entering the Aether Storm is an experience. The screen warps, the lightning cracks, and the Stormcaller boss waits. This electrified Disciple variant was tough, but we learned its weakness: more electricity. Bring shock weapons or Tesla Storm, and you'll cut through its health bar like butter.
-
'Spring Cleaning' & 'Holdout': 'Spring Cleaning' was all about crowd control while destroying cysts. Cymbal Monkeys or the Kazimir device were lifesavers—just toss one and watch the zombies wander off confused. 'Holdout' was a tense final contract where securing the Wunderwaffe DG-2 plans from the reward cache felt like grabbing the Holy Grail.
The Grand Finale: Defeat Zakhaev
After all that, the final story mission, 'Defeat Zakhaev', loomed. The prep was half the battle. We went in loaded:
-
A Tier 3 Pack-A-Punched weapon (non-negotiable).
-
Every single perk active (Juggernog was my best friend).
-
Weapons modded for high critical damage.
The mission itself, 'Cleanse the Exclusion Zone,' was a brutal, multi-wave survival test against Zakhaev's forces and the undead. It was chaos incarnate. But when the final blow landed and the mission complete screen flashed, the 10,000 XP and the 'Bone Collector' skin unlocked... man, that felt good. It was the perfect capstone to an insane journey.
Looking back, Act 3 wasn't just a checklist. It was a masterclass in pushing players to use every tool, every strategy, and every ounce of teamwork the mode offered. From the specific loadout challenges of Tier 2 to the epic set-piece battles of Tiers 3 and 4, it crafted a narrative through gameplay that culminated in a truly satisfying finale. That Bone Collector skin? I still wear it with pride. It's a reminder of the night we finally, finally, closed the book on Zakhaev and earned our place among the MWZ legends. What a rush.