In the chaotic, fast-paced world of Modern Warfare 3's multiplayer, where reflexes are king and every corner holds a potential ambush, there exists a weapon for those who prefer their victories loud, messy, and decidedly up-close. Enter the Haymaker shotgun, a semi-automatic beast that has carved out a reputation as the great equalizer. For players who might not possess the pixel-perfect aim of a tournament pro, this scattergun offers a thrilling alternative: the power to dominate close-quarters engagements with sheer volume of fire. Unlocked at the respectable Level 39, the Haymaker isn't just a tool; it's a statement—a declaration that you're about to turn the battlefield into your personal breach-and-clear zone.
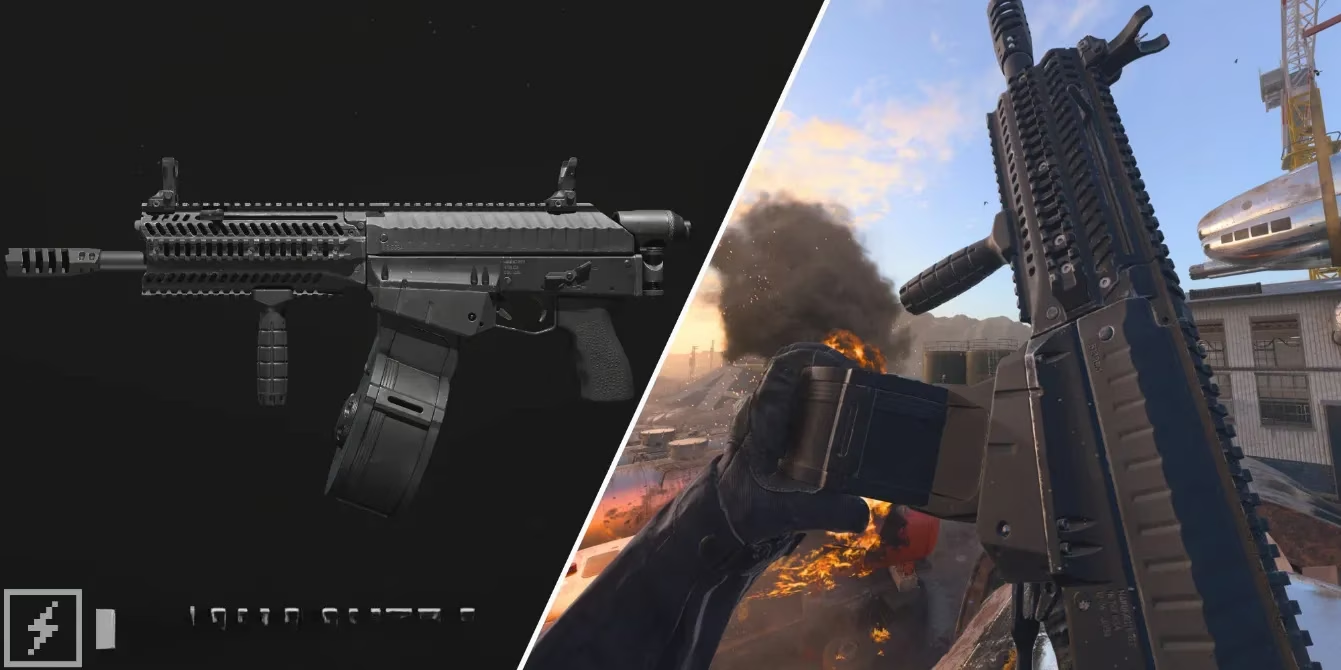
What makes this boomstick so special? Let's break it down. The Haymaker boasts some of the best-in-class stats for handling, accuracy (for a shotgun, mind you), and a fire rate that lets you pump out shells like a party popper on New Year's Eve. Sure, its recoil control can feel a bit like trying to tame a startled octopus, but that's where the magic of customization comes in. With the right attachments, you can turn this wild stallion into a precision instrument of chaos. The core philosophy is simple: get in close, point in the general direction of the enemy, and let the Haymaker do the rest of the talking. It's the weapon that whispers sweet nothings like "one-shot kill" in tight corridors and small rooms.
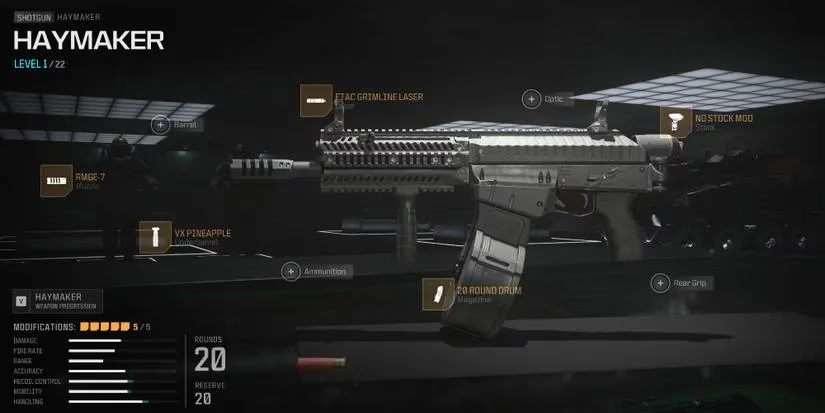
🔫 Crafting the Perfect Haymaker Loadout
Now, onto the main event: building the ultimate Haymaker. This isn't about slapping on random parts; it's about creating a symphony of destruction tailored for Core Multiplayer. The goal is to enhance what the Haymaker already does well while patching up its few weaknesses. Think of it as giving a prize fighter better footwork and stamina.
The recommended build focuses on three key areas:
-
Recoil Control: Because watching your shot pattern paint the ceiling isn't ideal.
-
Mobility: You need to be a swift, unpredictable blur closing the distance.
-
Handling: Faster aim-down-sights (ADS) speed means you're shooting while others are still deciding to shoot.
A sample attachment setup might look like this (remember, the meta evolves, but the principles remain):
| Attachment Type | Suggested Choice | Primary Benefit |
|---|---|---|
| Muzzle | FORGE TAC Marauder | Sound suppression & vertical recoil control. |
| Barrel | Bryson Hammerforged | Improved damage range and hip-fire accuracy. |
| Laser | Point-G3P Laser | Massive boost to ADS and sprint-to-fire speed. |
| Stock | No Stock | Maximum mobility for aggressive pushes. |
| Ammunition | 12 Gauge Dragon's Breath | Because setting enemies on fire is both effective and hilarious. |
This combination turns the Haymaker from a potent room-clearer into a mobile, fiery nightmare that can challenge slightly longer ranges and win those crucial split-second duels.
🏃♂️ The Run-and-Gun Perk Package
A shotgun is only as good as the operator wielding it. To truly embody the spirit of the Haymaker, you need a perk package that complements its aggressive, in-your-face playstyle. This is about becoming a relentless force of nature, not a stationary turret.

The ideal setup focuses on three core tenets:
-
Enhanced Mobility: Perks that make you sprint faster, slide longer, and generally be harder to hit.
-
Faster Reloads: The Haymaker eats ammo. You need to feed it quickly.
-
Ammunition Sustainability: Avoiding the dreaded click in the middle of a fight.
A top-tier perk package for 2026 might include:
-
Vest: Infantry Vest (for longer tactical sprint duration).
-
Gloves: Quick-Grip Gloves (lightning-fast reloads).
-
Boots: Covert Sneakers (quiet movement to get the drop on enemies).
-
Gear: Munitions Box (ensures you never run dry on shells or secondary ammo).
This package turns you into a ghostly, fast-moving threat. You can flank silently, engage rapidly, and keep the pressure on without ever needing to visit a resupply crate. It perfectly counters the Haymaker's main drawbacks of limited range and ammo capacity by ensuring you're always in the right position and always ready to fire.
🎯 Don't Forget Your Sidekick!
Let's be real: the Haymaker's effective range is... charitable. Beyond spitting distance, it becomes more of a pellet-based confetti launcher than a lethal weapon. And when that 12-round tube runs empty, you're in a world of trouble. This is why your secondary weapon choice isn't an afterthought—it's a vital lifeline.
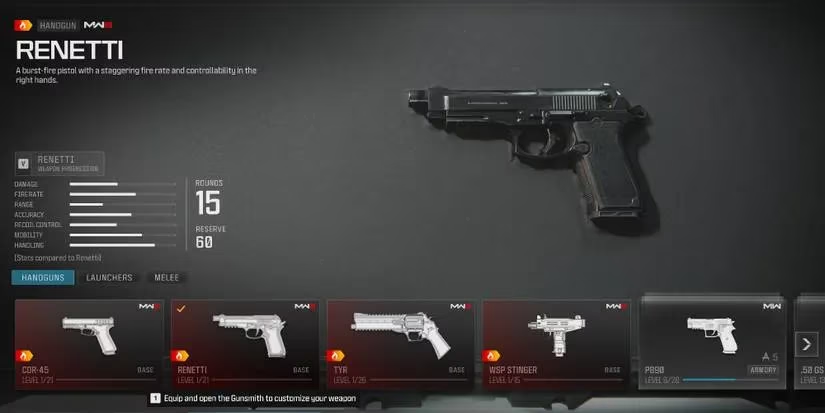
When a gunfight spills into a medium-range engagement or you need to finish off a wounded opponent, you need a reliable sidearm to swap to. The best choices are fast-drawing, accurate pistols that can handle what the Haymaker cannot. Here are the top contenders:
-
The Renetti: A classic burst-fire pistol. It's incredibly versatile, can be modded into a mini-SMG, and is perfect for quick, accurate follow-up shots.
-
The FTAC Siege: This full-auto pocket monster is essentially a primary weapon in a secondary slot. It's the ultimate "oh no" button when you're caught reloading.
-
The TYR: For the precision-minded. This revolver hits like a truck. If you can land your shots, it's a one-hit kill to the upper body at surprising ranges, making it the perfect complement for a confident player.
The strategy is straightforward: use the Haymaker to control interiors, tight lanes, and objective points. The moment you're caught in the open or facing a longer sightline, swap immediately. A good secondary weapon turns your weaknesses into a seamless transition between two effective ranges, making you a formidable opponent at both 5 meters and 25 meters.
In conclusion, mastering the Haymaker in Modern Warfare 3 is about embracing a specific, aggressive philosophy. It's not just about the gun; it's about the entire loadout—the attachments that stabilize its fury, the perks that make you a speedy specter, and the secondary that covers its blind spots. When all these elements click, you become an unstoppable close-quarters juggernaut, leaving a trail of confetti and frustration in your wake. So, rank up to Level 39, build this loadout, and prepare to hear the most satisfying sound in the game: the frantic ping of enemy hitmarkers followed by swift, explosive demise. Happy hunting! 🎯💥